You will install two pieces of software so that you can start using PostgreSQL. You sill install PostgreSQL itself along with all of its tools. Then you will also install Postbird, a cross-platform graphical user interface that makes working with SQL and PostgreSQL better than just using the command line tool psql.
You can install both of these products using Homebrew. Your Windows-using classmates don’t have this convenience, so pretend you’re having a hard time doing this. 😉
First, update your Homebrew installation. You should do this before each thing that you install using Homebrew.
brew updateNow, make sure that you have the correct Homebrew recipe. Type the following and make sure that the first line of the output contains some version of “12”.
brew info postgresqlYou should see something like this in the output.
postgresql: stable 12.2 (bottled), HEADNow, launch the installation.
brew install postgresqlThis may take a while. Have a tea.
When that completes, you can read the Caveats section from the installation output. You should do this with everything that you install using Homebrew.
To migrate existing data from a previous major version of PostgreSQL run:
  brew postgresql-upgrade-database

To have launchd start postgresql now and restart at login:
  brew services start postgresql
Or, if you don't want/need a background service you can just run:
  pg_ctl -D /usr/local/var/postgres start
You definitely want PostgreSQL to run now and every time you log in. Otherwise you’d have to start it every time you reboot your computer which can be a hassle. Following the instructions, please type the following into the command line.
brew services start postgresqlThat should report that PostgreSQL is now started.
To make sure your client tools are configured properly, type the following in a Terminal. This tells the psql client that you want to connect to the “postgres” database, which is the default database created when PostgreSQL is installed.
psql postgresThat will connect to the “postgres” database as your user that you’re logged in as, which the installer configured for you during the installation. It’s the same as specifying your user name by using the “-U” command line parameter and typing.
psql -U «your user name» postgresWhen you successfully log in, it should show you the following output.
psql (12.2)
Type "help" for help.

postgres=#
Type \q and hit Return to quit the PostgreSQL client.
Make sure that your Homebrew can find Postbird. Search for it using the brew search command.
brew search postbirdYou should get something back that looks like this.
==> Casks
postbird
That means it could find it. Since it’s a Cask, that means it’s an application that is meant to be used as a graphical user interface rather than on the command line. To install it, you need to include “cask” in the command.
brew cask install postbirdOnce it installs, try starting it. It’s in your Applications directory. You can use Spotlight to launch it by pressing Command+Space. In the Spotlight window, type “postbird”. It should show you the recently-installed application’s logo in the list as a white circle with a blue elephant. Select that and press Enter (or click it, if you’re the touchpad/mouse kind of person).
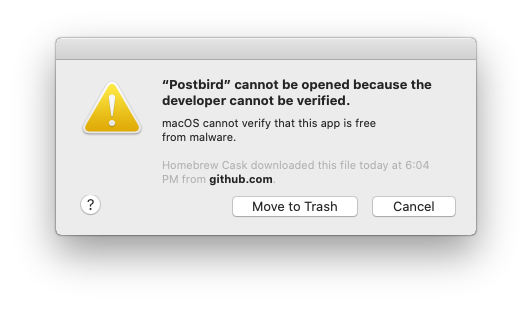
The first time it starts, you may get this error.
You should get used to seeing this because many open-source applications aren’t signed with an Apple Developer Certificate yet. Click “Cancel”. We will need to tell macOS we would like to run this application despite it not being signed.
Open up your Applications directory by clicking on the shortcut in the left bar of Finder.
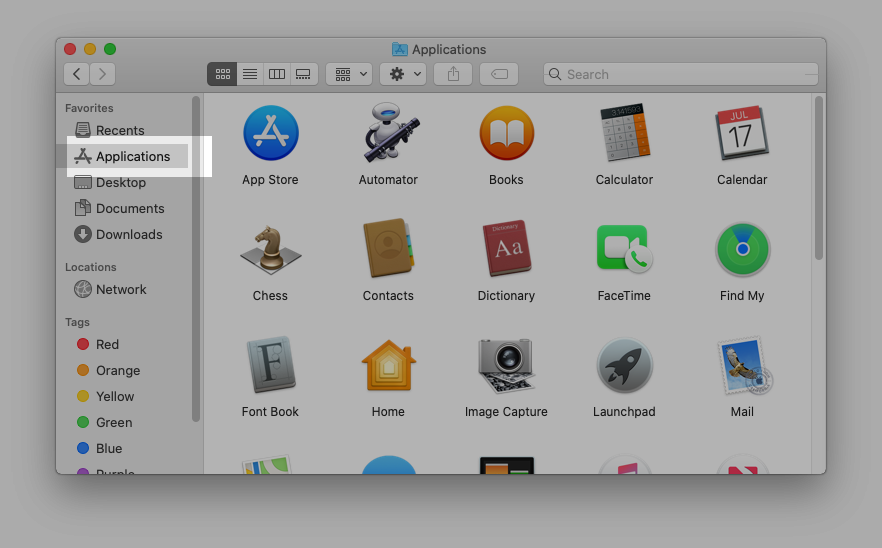
Find the Postbird application in there. Hold down the Option key and left-click the icon. (If you’re using the touchpad, this probably means two-finger tap.) Once the context menu shows up, you can let go of the Option key. Then, click the “Open” menu item. You will now see a new version of the popup from before with an extra button.
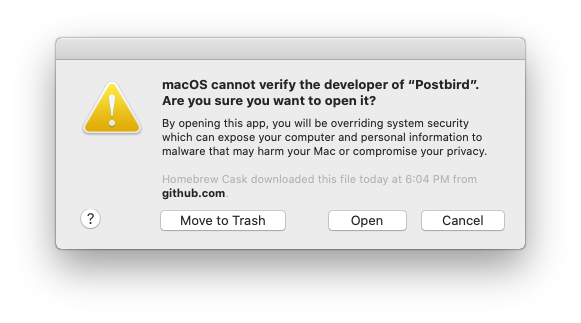
Click the “Open” button. That will let Postbird run. Now that you’ve done that once, you won’t have to do it again for Postbird. This is valuable knowledge about how to run open-source software on macOS that isn’t signed by the developers. However, it is a good security practice to only run applications from developers that you trust. The Postbird application is used by tens of thousands of software developers and is something that you can trust.
In fact, the developer of Postbird has an ‘issue’ on github about this very thing. So hopefully they will get the signing of the app fixed in a future version.
When Postbird starts, type “postgres” into the database field. Then, click the “Connect” button. It should open a new tab and show you basically a blank page. That means everything worked! Exit Postbird by pressing Command+Q or selecting Postbird > “Quit Postbird” from the menu.
You installed and configured PosgreSQL 12, a relational database management system, and tools to use it! Well done!